

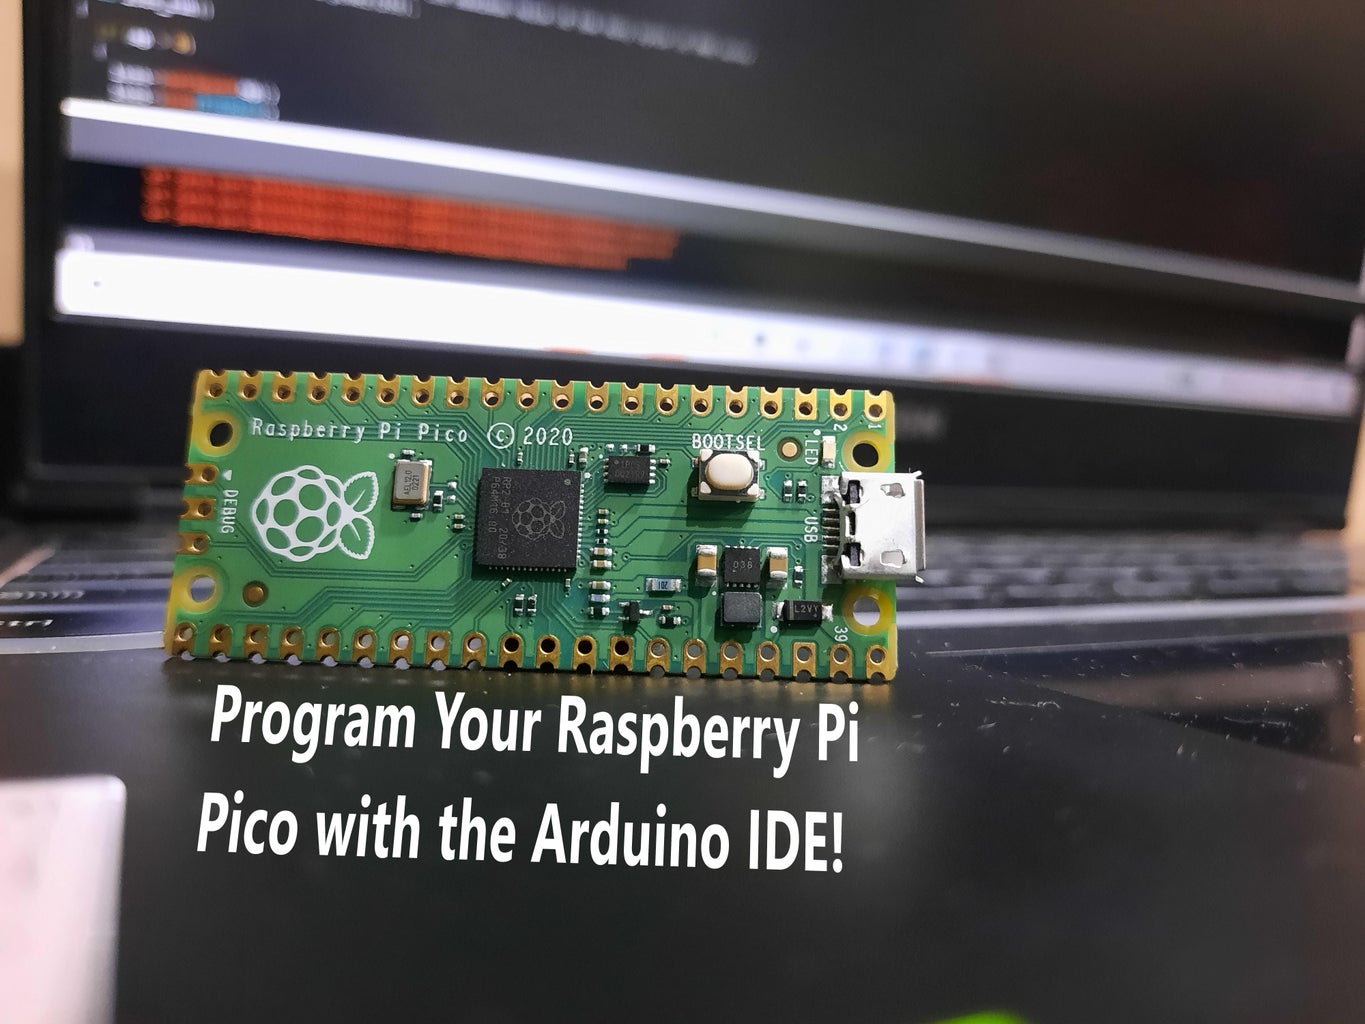
Introduction: Program the Raspberry Pi Pico With the Arduino IDE


The Raspberry Pi Pico is a recently launched product in the family of microcontrollers and its load of features and low cost makes it a great microcontroller for our projects. A lot of us use the Arduino IDE for programming microcontrollers. I believe it stands somewhere between ease of use and what all can be done with it. Python and C/C++ are great for programming the Pico but being able to program it just like an Arduino microcontroller would help us to integrate the Pico into the Arduino ecosystem. One of the best reasons to do this is the availability of libraries to allow the integration of modules, sensors, and other complex stuff without having to write the entire code from scratch.
In this Instructable, let's learn how we can program a Raspberry Pi Pico using the Arduino IDE, so without further ado, let's get started!
Step 1: Get the Essentials
For this project, you will need:
- A Raspberry Pi Pico
- A USB A to Micro B connector
- A computer with Arduino IDE
Step 2: Prepare the Arduino IDE
Go to Tools>Boards>Boards Manager and type 'pico' in the search box, you can install either. You can get help from the video above.
Step 3: Connect the Pico to the Computer
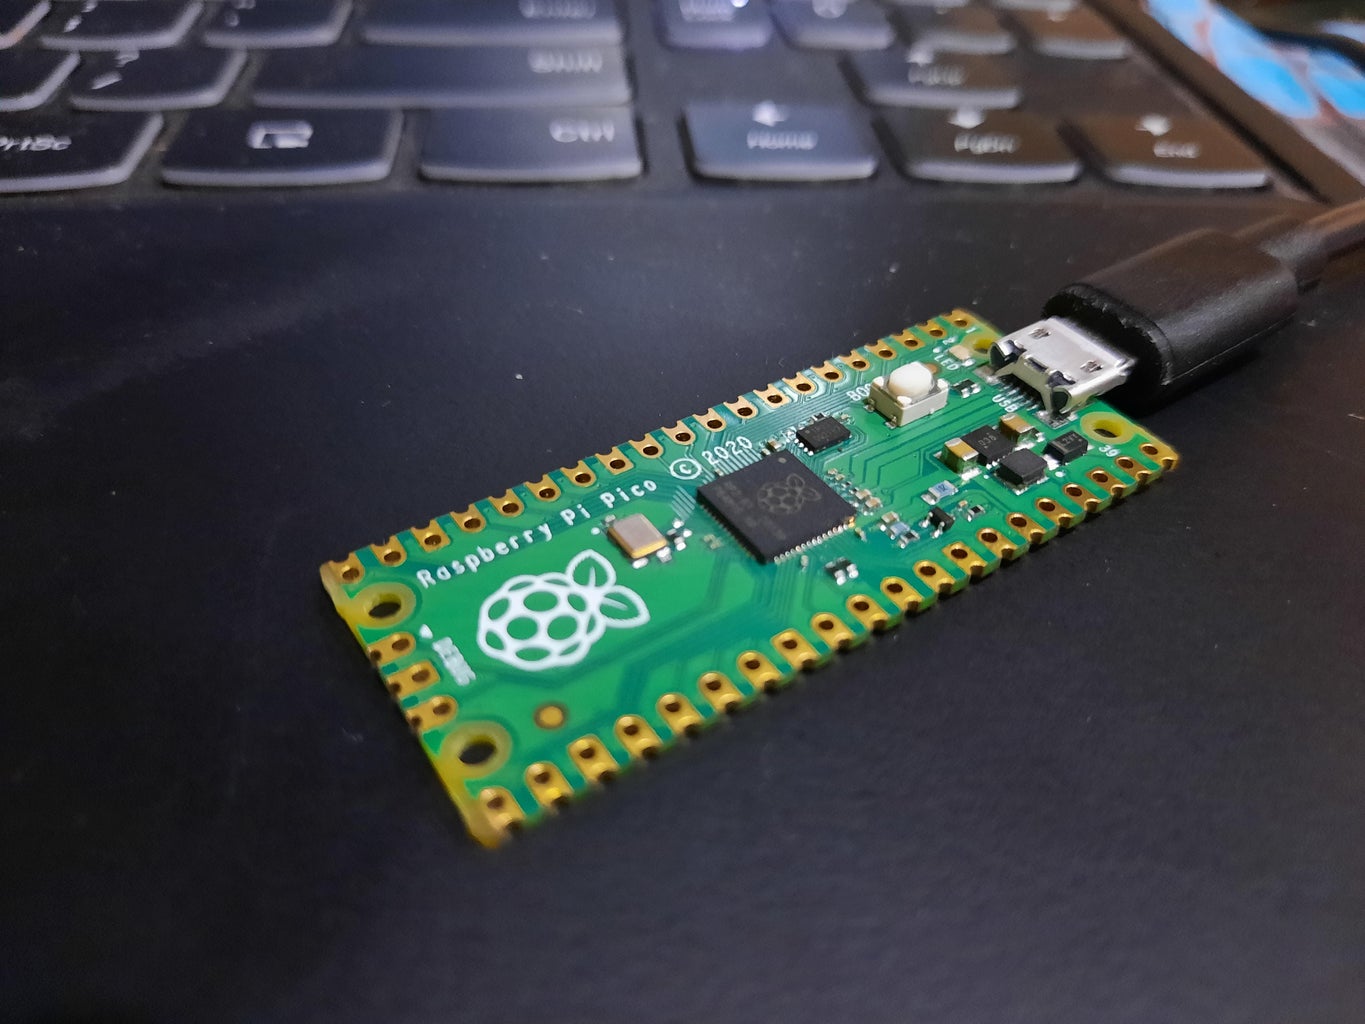
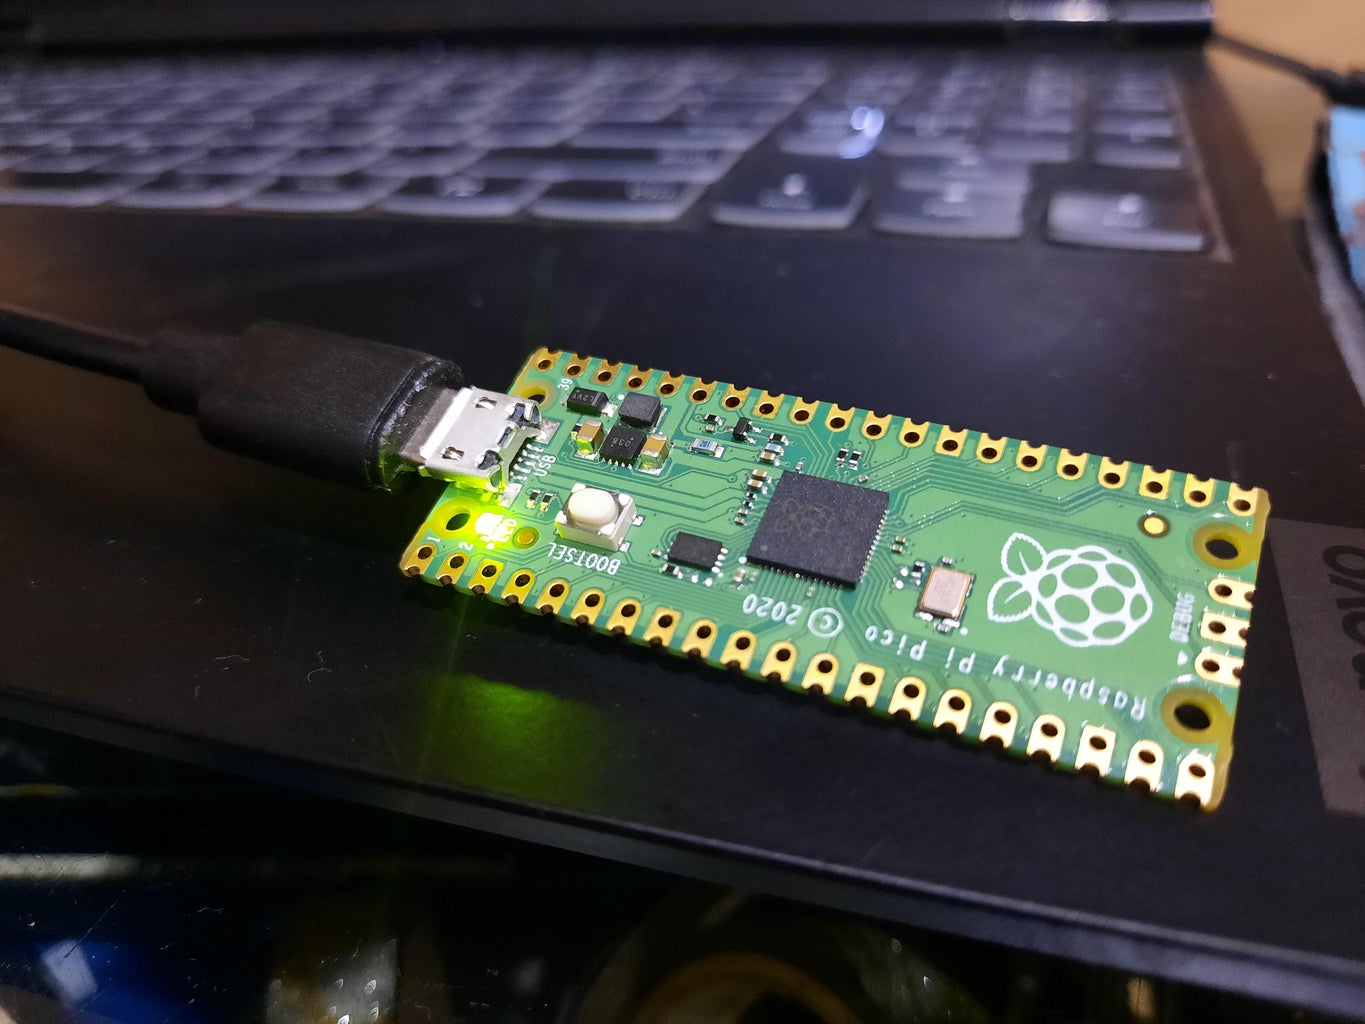
Connect the micro USB cable to the Pico and then press and hold the 'Bootsel' button before plugging the USB cable into the computer.
Step 4: Upload the Blink Code
Goto Files>Examples>Basics>Blink and click on upload.
After the IDE shows that the code is uploaded, check if the LED on the board is blinking or not.
Goto Tools>Port, you will now be able to see the name of your microcontroller and the number of the COM Port.
Step 5: Check the Setup
Unplug the microcontroller from the USB port and plug it back in. You should be able to see the name of the microcontroller by going to Tools>Port.
Step 6: It's Done!
You can now use your Pico like an Arduino microcontroller and program it with the Arduino IDE. There must be a lot of project ideas going in your mind, so get your supplies and start coding. All the best!


